If you run an asset rental business, download this Free Asset Rental Invoice & Receipts Template to create simple and effective invoices and receipts.
Save time by storing all your assets and customer details once and create unlimited invoices and receipts. Manage them all in one file.
Benefits of Asset Rental Invoice Template
- Create invoices for your asset rental business
- Customize invoice and receipt to your business need
- Automatically calculate totals and subtotals
- Handles tax rates at the order level
- Accommodates products that are not taxable
- Handles discounts at product and order levels
- Save time by storing customer and product data
Requirements
- Microsoft Excel for Windows (2010 and above)
- Microsoft Excel for Mac (2011 and above)
Free Downloads
Video Demo

How to create invoices and receipts?
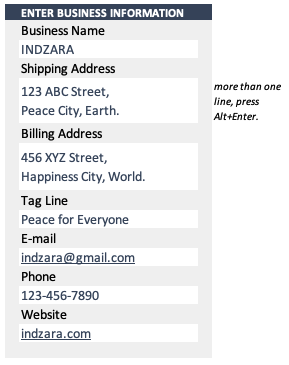
Initial Setup
Enter Business Information in Settings sheet
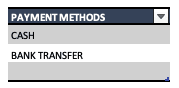
Enter Payment Methods in Settings sheet.
If you are new to Excel Tables, please read the article on how to use Excel Tables for data entry.
Enter Assets details in the Assets sheet.

You can add columns or rename existing columns as per your business need. You can maintain all your assets in one place.
Enter Customer details in the Customers sheet

You can add columns or rename existing columns as per your business need. You can add and maintain all your customers on this sheet.
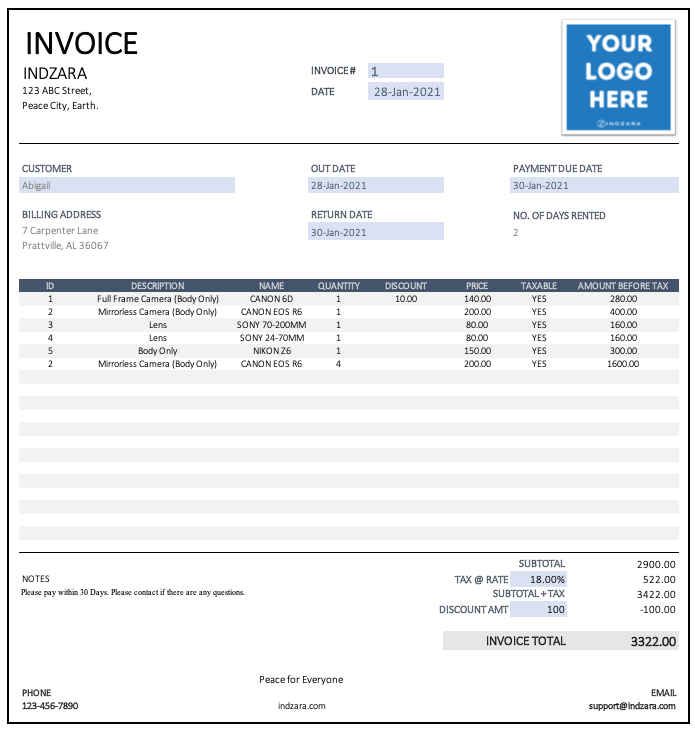
Generate Invoice
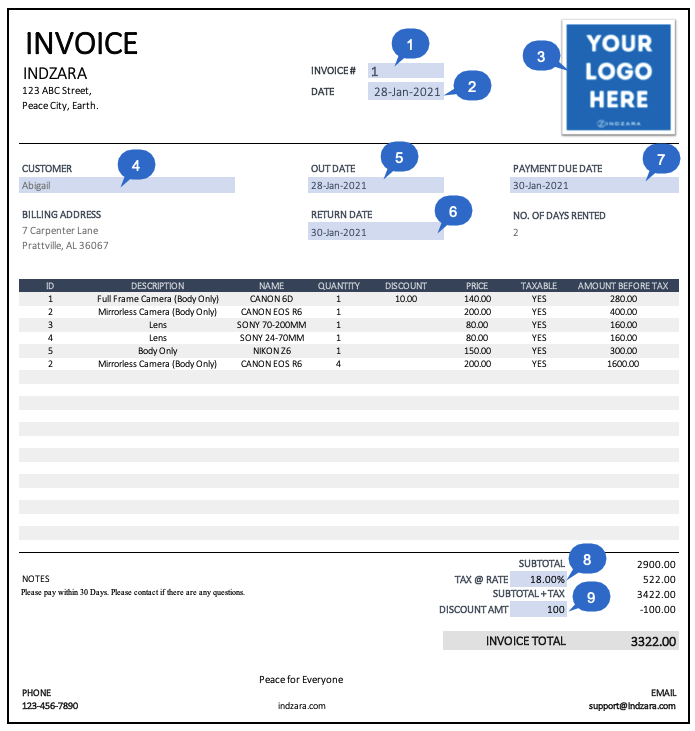
The Invoice sheet explained below in detail
1.Invoice: Enter the Invoice number in cell G5.
2. Date: Enter the date of the invoice in cell G7.
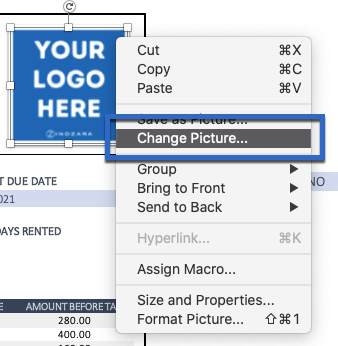
3. Place your Business logo: Right-click on the Your logo Here image and click on Change Picture. If you don’t need a logo, just select the logo image and press the delete key.
4. Customer: This cell lists down all the customer names in a drop downfield. Enter the Customer’s name in cell C14. On selection of this field, the corresponding customer information below (billing address) gets populated. You can choose to have any other customer information field here – use the dropdown to select the information you want to populate.
5. Out Date: Enter the Out Date in cell F14. This is the start date of the asset rental.
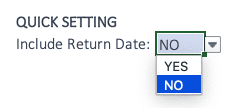

6. Return Date: Enter the Payment Due Date in cell F17. This is the return date of the asset rental.You can choose whether to include the return date to be charged:The number of days rented will be automatically calculated based on this selection.This will be multiplied by the total amount of each asset.
7. Payment Due Date: Enter the Payment Due Date in cell I14. This is the date by which the payment has to be made.
8. Tax @Rate: Enter the Tax Rate in cell I44. You can change this later for each invoice if needed.
9. Discount Amt: Enter the Discount Amount in cell I46. Your value can change for each invoice. Leave this field empty if you do not want to give any discount.
Now, how to enter the list of assets into the invoice – please refer to the screenshot given below for the section that can be editable and others that are auto-populated based on the fields edited.

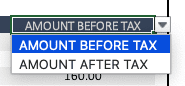
You can choose to display either Amount Before Tax or Amount After Tax
Continue entering assets as many there are in the invoice. The maximum allowed is 20 in this template.
Get Receipt
To create a receipt, just choose Receipt (instead of invoice) on the top left.
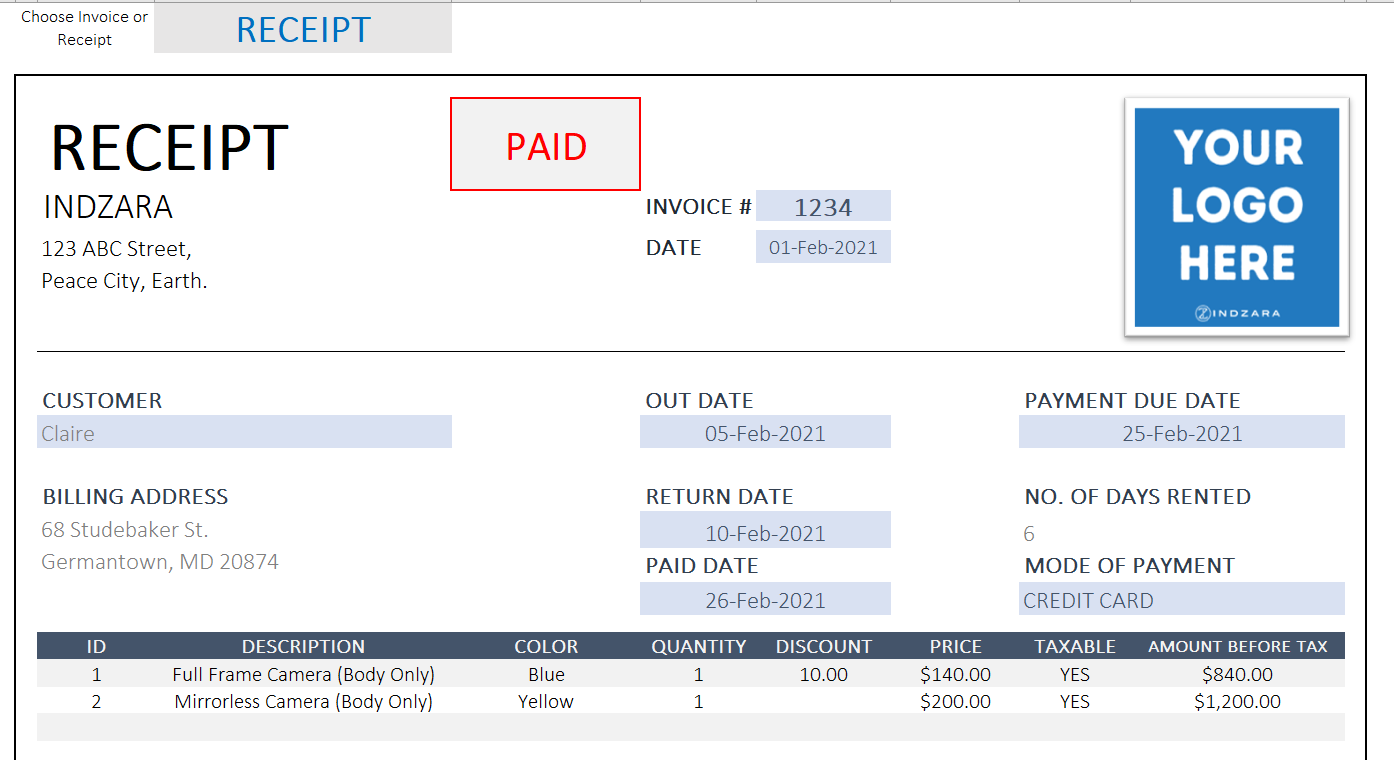
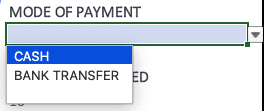
Enter the Mode of payment using the drop down list. This cell I14 picks up the value from the data entered in the payment section of the settings sheet.
Enter the Paid Date as well.
Creating multiple Invoices/Receipts
2 options:
Option 1: Save each invoice as a separate Excel file. To create a new one, just do File –> Save As, and give a new name for the new file.
Option 2: Save multiple invoices in 1 Excel file. Follow the steps given below.
- Keep the Invoice sheet on which the initial setup was done as the master sheet.
- Take a copy of the master sheet.
- Rename the copy with the invoice number.
- Edit the input fields along with the asset details.
- Print the invoice if needed. Export to PDF.
- Save the excel file.
Repeat this process to create as many invoices/receipts as needed.
Record Keeping – Save your invoices and receipts
Save each invoice and receipt as PDFs (Export as PDFs). Give the Invoice Number as the file name. Eg. Invoice_123.pdf
Limitations
- The template is designed to accommodate 20 line items per invoice or receipt.
- Designed for daily (one or multiple days) rentals and not hourly rentals.
Support Articles
After reviewing and making sure everything looks good, it’s time to print or export.
Press Ctrl+P to preview print.
Print Preview and Print Invoice
The page is set up to be print-friendly. So, you should be able to just print as it is.
To export to PDF, select the Export menu option.
Export to PDF Menu Option
In the following window, choose a location in your computer to store the PDF file and give a name to it. Tip: use your invoice number in the file name. Save all your invoices with the Invoice Number in the PDF file name in the folder. Thus, you will be able to easily identify a specific PDF if needed in the future.
Can I handle Hourly rental?
What if you want to use Product Name instead of Product ID as unique identifier?
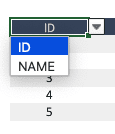
You can choose to use a Product ID or Product Name or your own field as a key identifier of products.
If you choose Name, the drop-down list automatically will use Product Name instead of Product ID. Everything works smoothly.
How can I change the colors, fonts or other formatting?
All the formatting options are available to you. Just select the cells you need to modify the format and use Excel’s default formatting options (in the Home ribbon) to change fonts, colors, appearance, number format, or alignment.

Excel Formatting Options to customize the invoice
If you change the font size or font, you can adjust the column widths and/or row heights to ensure that the print view is good.
How to sort data in Product list?
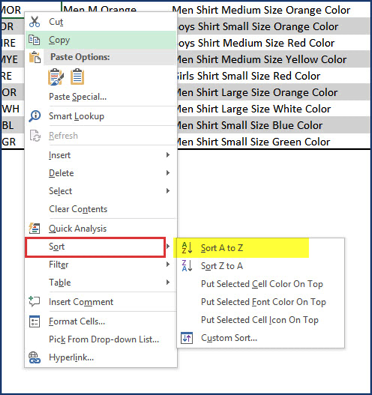
When you have a lot of products, it might become challenging to choose from the drop-down menu in the Invoice worksheet, especially if the product IDs/Names are not sorted. By default, the order in which you entered the products in the Products table will be used as it is in the drop-down menu. That means you could sort the products in the Products table and this would automatically give you sorted products in the drop-down menu. This should help you in the easier selection of products in the invoice.
Choose the cells in the Products table, Right Click –> Sort.
How to apply currency format in invoice/receipt sheet?
The template comes with no currency formatting by default as I would like the template to be useful in all countries. It’s easy to apply your currency.
In the Invoice sheet, press Ctrl+G. This opens a new dialog box.
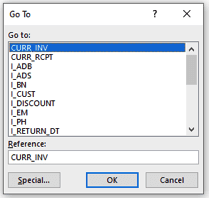
Changing Invoice Currency – Press Ctrl+G and select CURR
Choose CURR_INV or CURR_RCPT and click OK. This will select all the cells that need to be formatted as currency. Press Ctrl+1.