This post from our “Data to Decisions” series is all about extracting data from a website into Excel with Power Query.
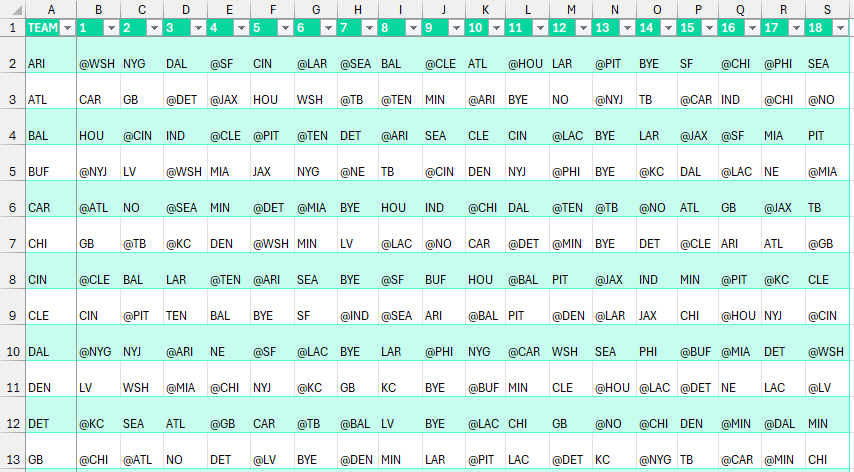
To begin our exercise, let us take our sample from ESPN’s NFL schedule available in the URL https://www.espn.com/nfl/schedulegrid You can choose any URL of your choice with, possibly data in a table format.
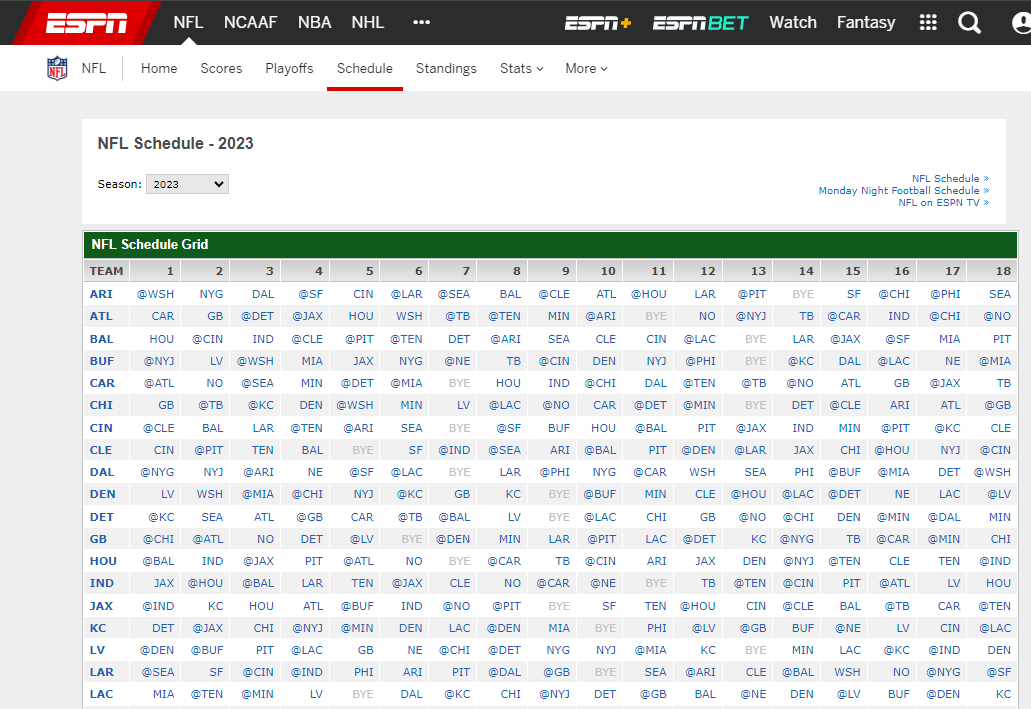
To extract this data from the website, we’ll copy the URL from the page.
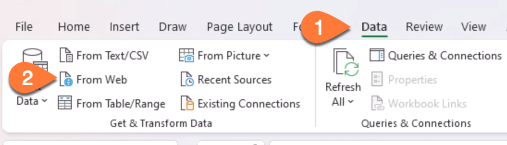
From the Data Ribbon, go to “From Web” and paste the URL as shown:
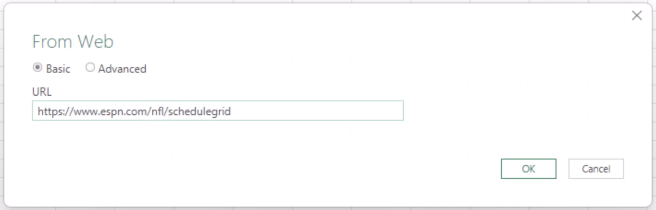
Once we give “OK”, Excel grabs the possible data from the given URL and we need data in tabular format to work with.
The data is successfully extracted from the URL. As the next step click on (1) Table 0 which will display the result in a table view. Then go to Transform Data, as shown:
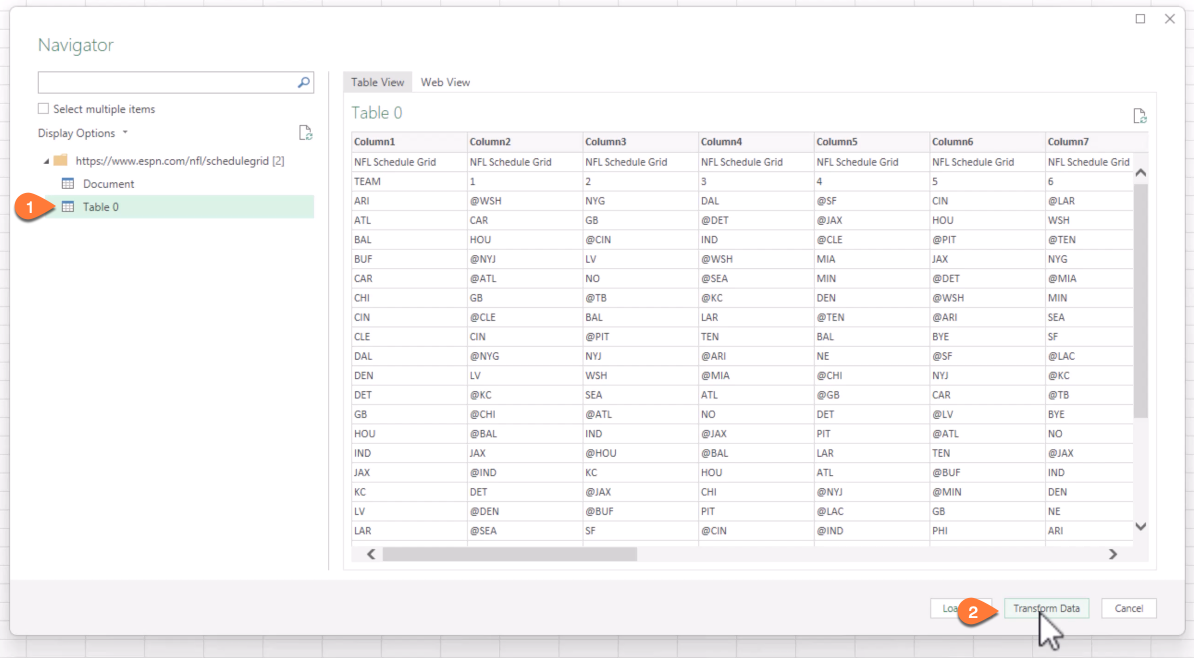
Once we click on “Transform Data”, Excel opens up a Power Query Editor. This is a versatile tool designed for several important tasks, to name a few:
- Data Importation: It allows you to easily import data from various sources like databases, web pages, and text files into Excel.
- Data Transformation: You can use it to clean, reshape, and transform data, making it more suitable for analysis.
- Combining Data: Power Query lets you merge and append data from multiple sources or tables, creating comprehensive datasets.
- Creating Custom Columns and Calculations: Power Query provides the capability to add custom columns and perform complex calculations on your data.
- Automating Data Refresh: It automates the process of updating data in Excel, ensuring you always have the latest information in hand.
With a quick look, we can see that our data needs some clean-up. With Power Query, this is just a breeze.
Step 01: In the Power Query Editor, you can see that it has already applied some steps to our source data.

Step 02: Remove unwanted Rows from the dataset: In this example, the first row of data can be removed. For this, go to Remove Rows (1) and select Remove Top Rows (2)
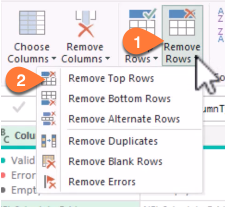
choose the number of rows from the top which has to be removed.
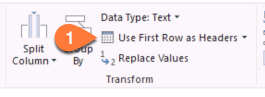
Step 03: Use the first row as the header or the field names in Power Query Editor:
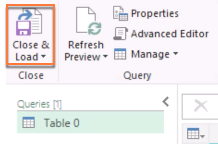
Once you’ve gone through the data, you can rename it to suit your needs under Query Settings and click on Close & Load to load the data as a table in Excel.
Once this is done, the data gets loaded as a table into Excel for further analysis and visualization.
Watch our dedicated YouTube video on creating an NFL Grid visual here:
If you have any feedback or suggestions, please post them in the comments below.


