2023 New Employee Checklist – Free Google Sheet Template
This Google Sheet is developed as a solution to document the completion of activities in a checklist.
The HR departments in companies can use a copy of this template to track or document the new employee on-boarding activities.
Ideally, there is a list of onboarding activities each employee has to complete during the onboarding process. This template can be a solution to track such onboarding activities within your company.

Benefits of the new Employee Checklist
- Customize activities for your business (maximum 12 activities)
- Printable checklist for each employee
- Choose whether to print dates
- Customize header with ordering fields as you prefer
- Rename fields as needed (except the activity date fields)
- Customize footer with your business information
- % Complete progress bar
- All employees’ data in one file
Free Google sheets
This template is designed for Google sheets, but if you are looking for an Excel template, please visit the New Employee Checklist in Excel
How to Create an Onboarding Employee Checklist in Google Sheets
Steps to use this template
- Make a Copy and save this template in your Google Drive
- Configure the Settings information
- Input Employee Data
- Choose the employee and Print
STEP 1: Make a copy of the sheet
Click on the link above and then make a copy of the sheet as shown in the screenshot below.
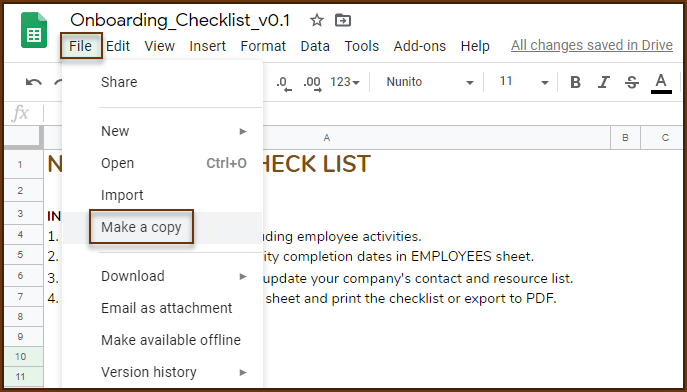
You can save the copy in your own google drive for your use. You can then share the copy with your colleagues to collaborate as needed.
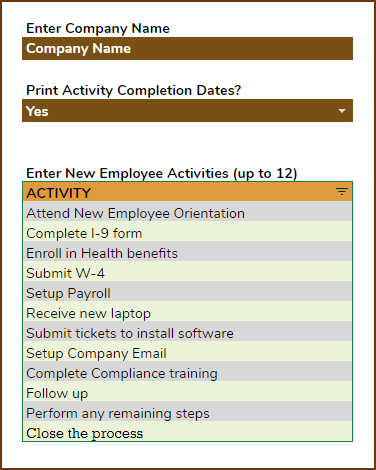
STEP 2: Enter Settings
In the Settings sheet, start by entering the Company name. If we don’t want to print activity dates, then choose No to that.
Finally, enter the list of activities.
STEP 3: Employee Data
In the Employees sheet, let us enter each employee and their information
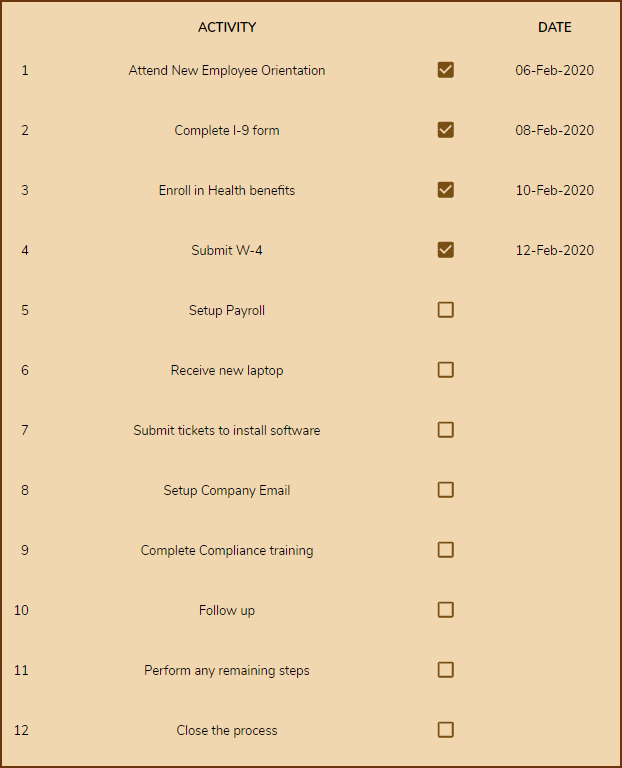
Tip: If you would prefer to print empty checklists and check items in the hard copy, then skip entering the Employee Data and directly move to Print step below.
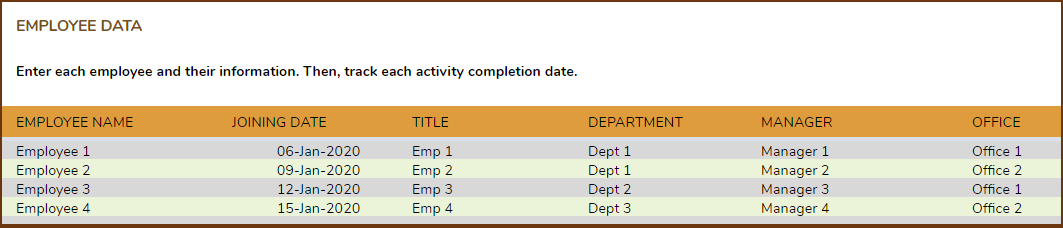
Then, we enter the activity completion dates for each employee, as and when they complete the activities.

STEP 4: Print
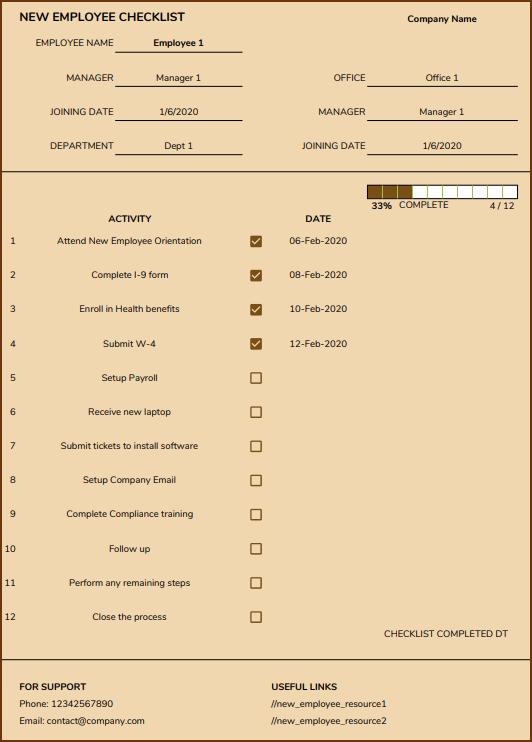
In the print sheet, we can print the certificate for each employee separately by choosing the employee name.
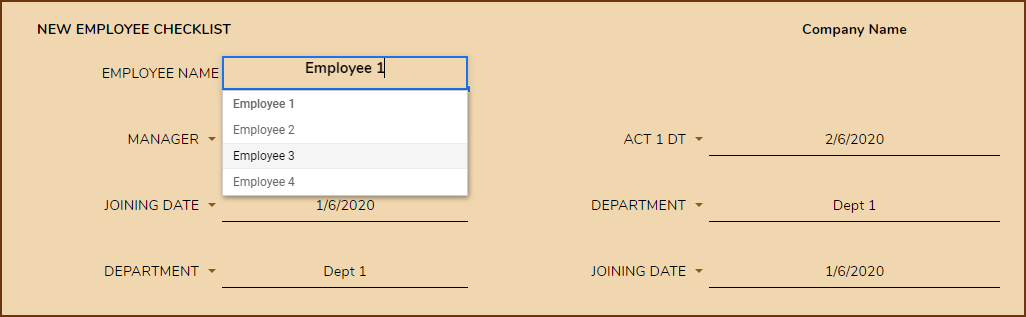
The fields in the header can be changed by using the dropdown. This allows us to reorder fields to suit our needs. Also, if you have renamed the employee fields earlier, they will automatically appear here.
There is no need to change the Activities section of the certificate.
At the end of the activities section, a Checklist Completed DT will appear if the employee has completed all the activities.
We can customize the footer area by providing contact information for your business and any internal links for reference to the new employees. Feel free to type in your details directly – these fields do not have any formulas.

Now that we have the certificate customized, we can print or download as PDF. The following are a couple of sample certificates printed.
Related free templates
Recommended Templates
-
 HR KPI Scorecard & Dashboard$50
 -
 Employee Retention Dashboard – Google Sheet Template$50
 -
Recruitment Tracker Dashboard Excel Template for Simplified Hiring ProcessOriginal price was: $89.$69Current price is: $69.


2 Comments
This is an incredible document! I’m trying to add items to the checklist, but can’t seem to do so without disturbing the functions. There are 12 now. I need about 20. I can add them on the settings tab, but the checkboxes lose their functionality when I had them on the Print tab. Please advise! Thank you!
regarding: New_Employee_Checklist v. 1.0
Hello
Thanks for using our template.
Please note, the sheets are linked, which means that you need to update the employees’ tab as well to add more functions. Also, the checkboxes need to be added and linked accordingly. The print tab can hold 12 functions to print on a page. Hence, adding more functions will spill over to the next page, which we have tried to avoid and kept the whole report on one page.
Best wishes